Friday, September 30, 2022

One Hour Wargames : Machine Age Experiment

Last night, I decided to do a little experiment using the One Hour Wargames "Machine Age" rules (well, my modification of them). 

Movement was randomized -1d6 in the open, 2d6 on roads or to charge into close combat.

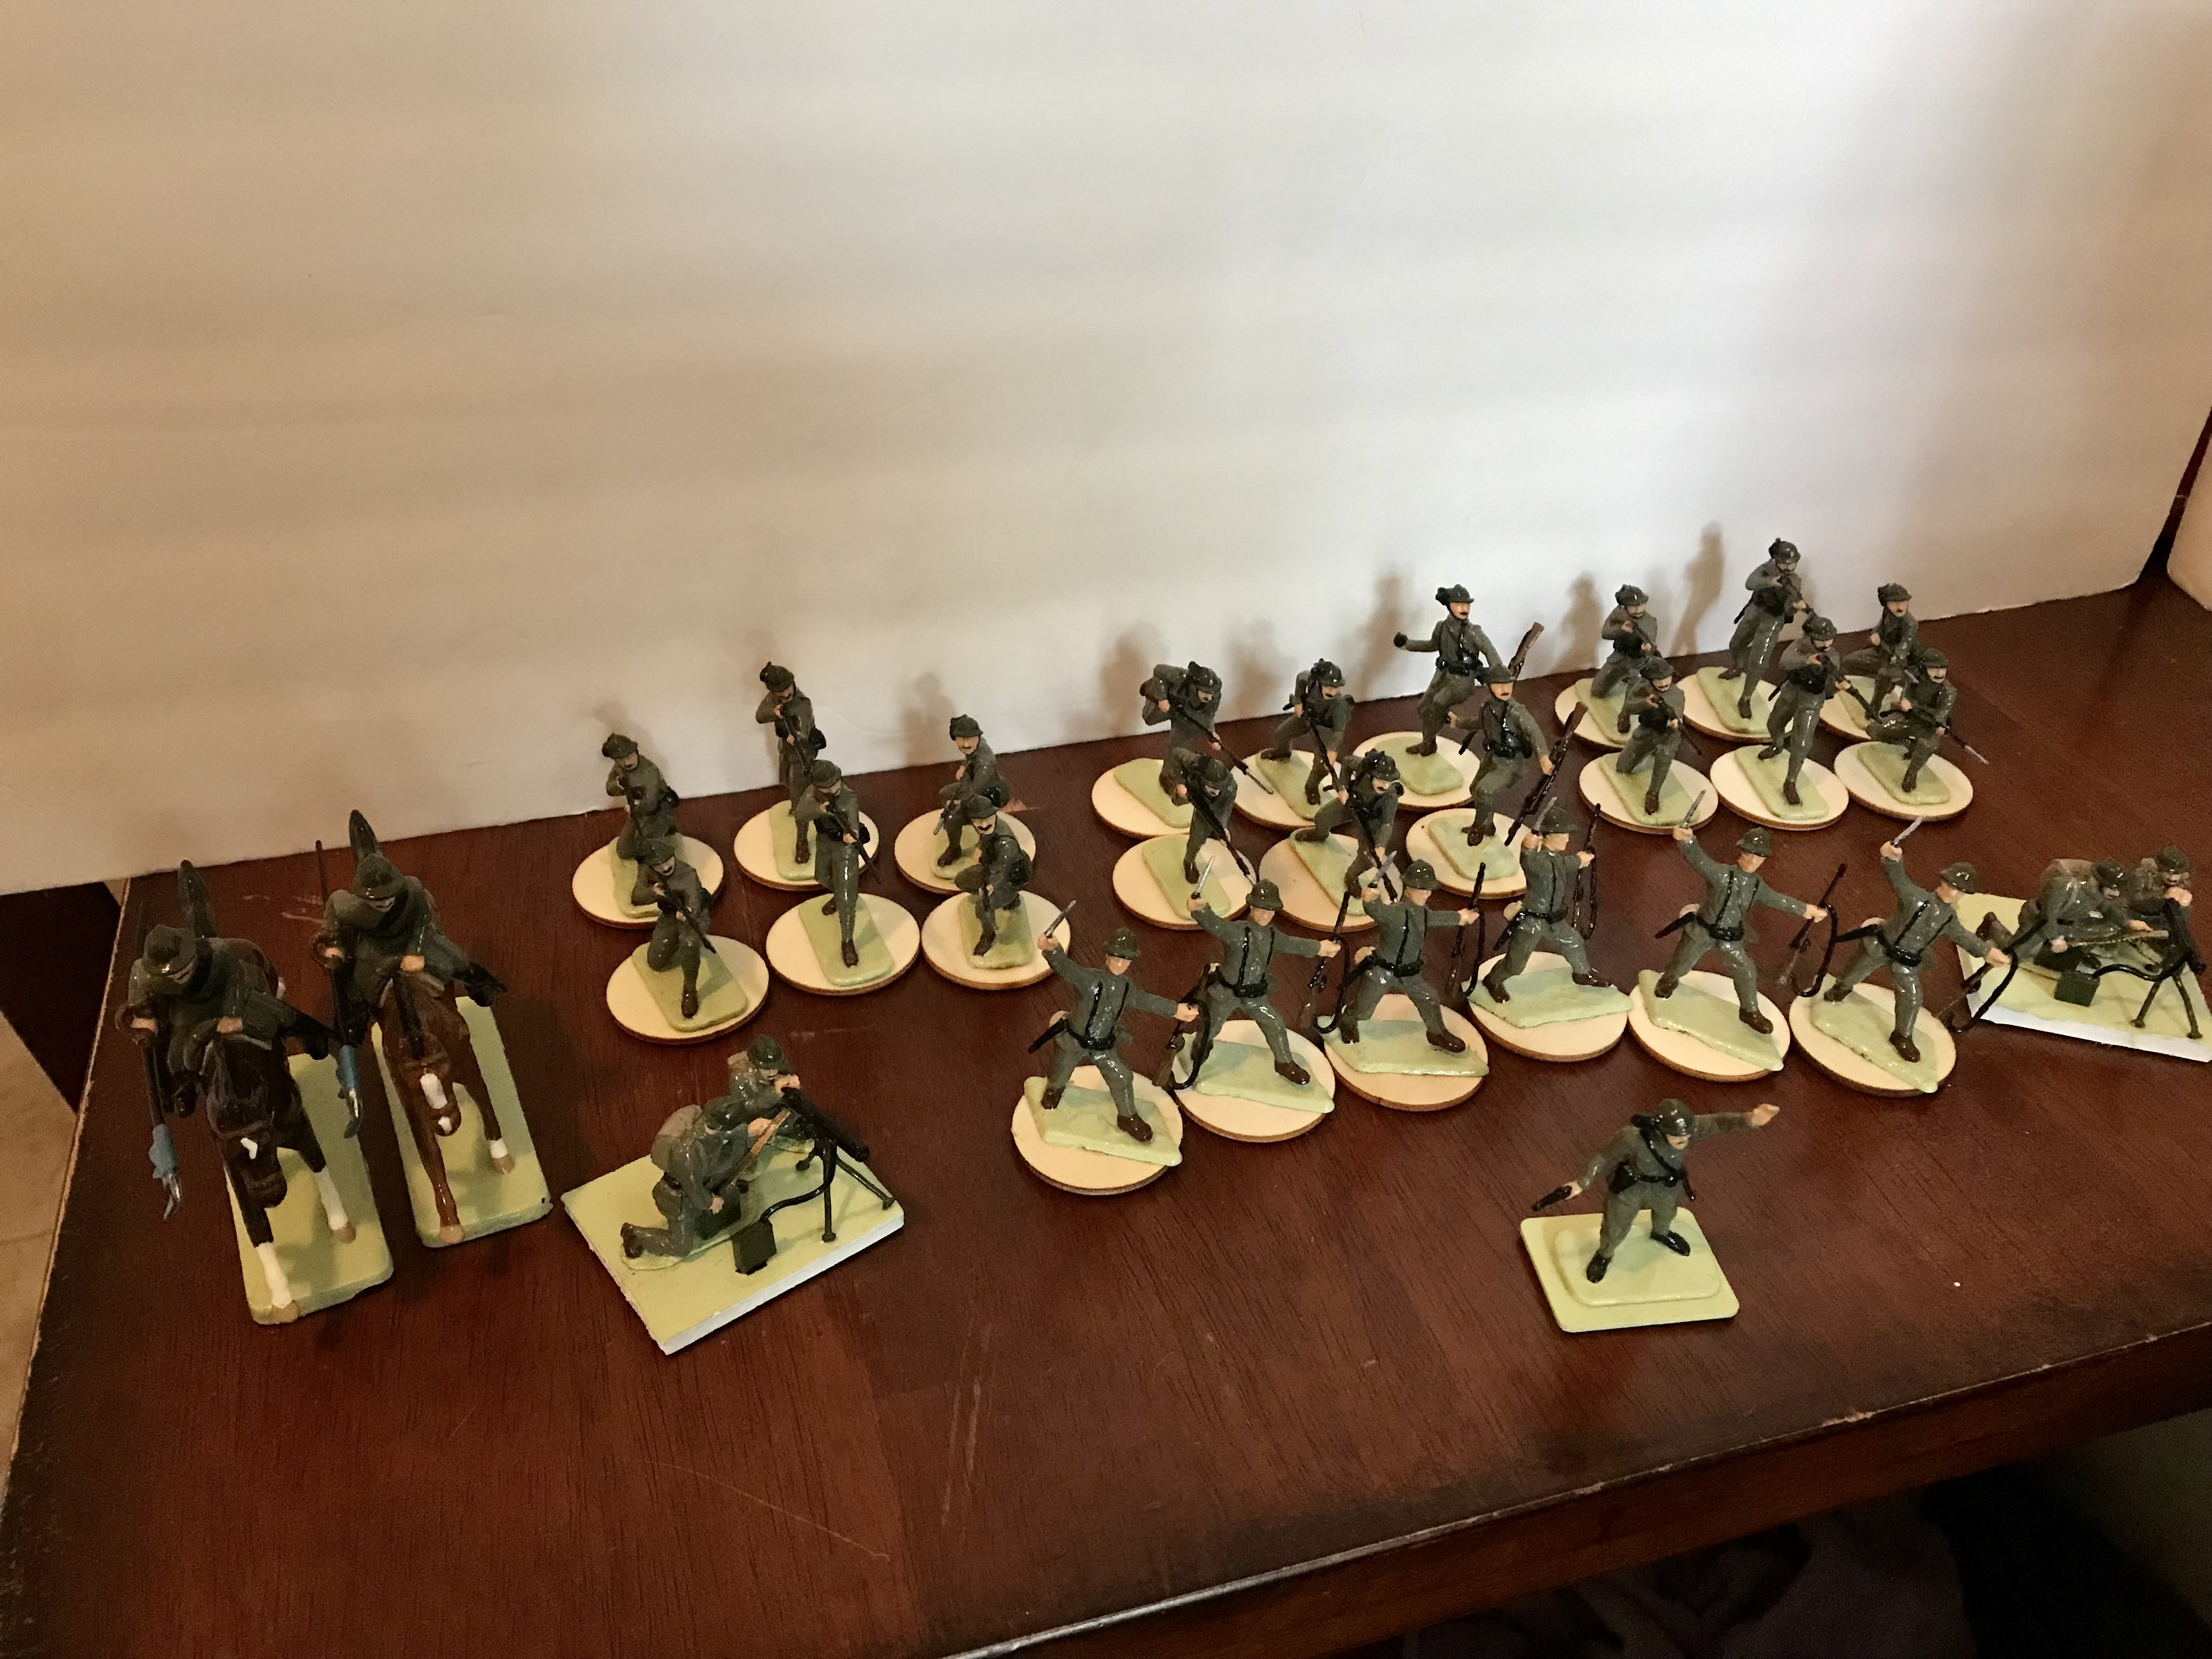
After determining the force compositions, I doubled the number of infantry bases called for in the Infantry column of the table. Each one would count as a unit on its own - and as I think of them as companies, it gives me 1.5 to 2 battalions per side (I'm looking ahead to a map-based campaign and I'm trying to figure out what scale the battles will take place in).

For Heavy Infantry results, a single MG base was fielded, but attached to one of the Infantry bases (thus making a Heavy Infantry unit out of it).

Cohesion - companies in the same battalion, with the exception of those in reserve/off table at the start, must remain within 12" of every other company in the battalion. 

Assault Infantry (I replace the Cavalry column with Assault Infantry) get only 1 base, for a max of two companies. They receive +2 in close combat and ignore cover when close assaulting.

Artillery is all off-table and I determined target zones from which they could not deviate. Where the shells landed would depend on a die roll for a location in the zone - if a unit, enemy or friend was in the vicinity, it would be hit. Finally, artillery was limited to 2d6 rounds. 

As it turned out, I rolled a whopping "4" for the Austrians. For the Italians, I borrowed a technique from my solo role-playing days and rolled 2d6 vs the number already fired. As long as the number rolled was higher than the number already fired, the round arrived. Once the numbers were equal, the Italians would be out of artillery rounds.

 The scenario was "Take the High Ground".

The Italians started with two units entrenched on top of the hill.

My "trench" is more of a wall created from air-dry clay, but it has a certain "playing with toys" look, which I'm not unhappy about. The paint-work, hastily completed just before this game, is an attempt to create a look of grass topped by dug up ground, with sandbags at the top.

 As soon as the attack began, the Austrians suffered heavy losses from Italian MG fire.

In the distance, Italian reinforcements make their way to the battle.

With tenacity and courage, the Austrians managed to reach the trench and wipe out the Italian defenders. 

The Austrians are on old wooden "trays", and, of course, their magnets don't stick, so they slide off on the hill. The Italians are on metal "trays" and thus stick to theirs. I have to dig out the rest of the metal bases I have.

A determined Italian counter-attack eventually returned the trench, and the hill, to Italian hands.

Please pardon the sudden appearance of the A-H mg team. I forgot to put them on the table at the start of the game!

With 8 units on the table per side (plus an off-table artillery unit each) it still only lasted 10 turns and about 45 minutes!

On a grid, I think accepting 2-figure trays as a company is pretty easy. To my surprise, I like the four 2-figures-per-base battalions on the open table and I have no trouble picturing what they represent. When not using the trays, I think 2 figures acting as a company is harder to see (for me), and I prefer treating six to eight figure units as companies in that case. 

Again, this is just me trying out ideas as I consider a map based campaign.

Monday, September 19, 2022

Expansion Continues

Upon return home from my road trip (the subject of a future post), some additional acquisitions were waiting for me.

First up, four more Britain's Cossack figures - bringing my total for my "Great Game Gone Hot" Russians to eight. Of course, the Russian enclave on Venus has no doubt sent along some Cosscacks to deal with the Venusian inhabitants and to keep both the British and French in check.

 To my surprise, I won an eBay auction for them and managed to spend less than $50 USD shipped. The officer may have had their horse painted? It's very flat white. I don't really care - just noting for the purists out there.

They will make my Russians more mobile than my British, which will allow for some differentiation between two otherwise identically constructed forces. I really should look for some French cavalry.

Perhaps more importantly, to me at least, they put me within reach of being able to field the "Russia 1812" scenario  in Stuart Asquith's Guide to Solo Wargaming. I've done very little reading on the Napoleonic era, but what I did to was focused on 1812 and the attempted invasion of Russia. I have long wanted to do some sort of game around the French retreat.

Asquith's scenario is small (12 figures a side), and while I don't have 12 Cossack cavalry suggested, 8 is close enough. Eventually, I'll acquire some French, and finally scratch that itch perhaps. Perhaps I'll win another auction someday and reach the 12 Cossack cavalry suggested.

Additionally, two books I had ordered prior to departing arrived.

Unsurprisingly, they are titles to support my interest in the Italian Front in WWI. Both of these have been on my "want list"for several years, and while shopping for books for my trip, I found that they could be had for less than previously priced. Unfortunately, they would not arrive anytime close to my departure (indeed, they arrived just before my return).

I have only flipped through each at this point but both contain substantial numbers of photographs which are making it more possible for me to picture the fighting on that front.

Although part of the Images of War series, Sopwith Camels Over Italy 1917-1918, contains a good bit of text to support the many photos of pilots and their flying machines. There is very little in English on the air war over the Italian Front, so this is a valuable addition to my library for that alone. It also happens to line up with my interest in the wider War and justifies my acquisition of a Sopwith Camel for my planned British force for 1918 Italy. 

The First World War in the Alps has far more photos than I realized - many depicting life in the trenches as well as combat. With an unblinking eye, the horrors of war are on sometimes gruesome display within. And while I find it fascinating, the chapter on the recovery of an Austrian soldier, frozen and preserved in the ice many decades after the Great War ended, is a little too well-supported by pictures for my squeamish self.

So, while I'll probably hurry passed certain photos in the book, overall it's a welcome resource with images not contained in any of the other sources I have read.


Monday, September 5, 2022

News from the Southern Front!

 As I noted previously, the Italian MG team had jumped ahead in the queue.

The Italians have now completed phase 1!

Three Bersaglieri companies and one company of Arditi.

They are also a bit into phase 2 with the cavalry half-way finished. As an aside, I really need a better way to photograph an entire force at once. 

I am traveling this week and acquired some books for the trip, on theme for this post:


Morale and the Italian Army during the First World War is a well-researched, academic work that I am quite excited to read. The bibliography appears to point to mountains of future sources to read.

Counts and Commoners is fiction - about a Brit and an Austrian, fighting over the Italian Alps, written by a guy from Georgia, USA.  It has been on my radar awhile, as it gets decent reviews, but I've never pulled the trigger. The price was down to some 75% of the usual, so I snagged it. 

The author does appear to have done their homework at least as far as the planes are concerned. A quick flip through showed there are plane statistics and diagrams in the appendices. 

I had thought I would pick up Tunstall's The Austro-Hungarian Army and the First World War but the reviews are pretty dreadful. Which is a shame, as the Italian book in the same series has proven quite a worthwhile acquisition (so much so that, I replaced a copy I had let go of). I'm still on the lookout for something that covers the war from the Austro-Hungarian side of things, with at least equal focus on the Southern Front, if not entirely (Hell in the Trenches is great for this but is focused on assault troops) but that isn't out of my reach price-wise.

In any case, these books will accompany me on my trip so that even if I can't paint or game, I can still participate in my hobby,

Saturday, September 3, 2022

Bridgehead of Fantasy

The other night, I decided to play another round of Age of Fantasy and pit the medieval humans (Chivalrous Kingdoms) against the Tanitians (Dark Elves). For a scenario, I chose scenario #5: Bridgehead, from One Hour Wargames. 

The forces had around 800-850 points I believe.

Using OHW for the scenario setup required some adjustment - instead of using the turn arrivals, because AoF only has 4 turns in a game, I used each sides activations for unit arrival. This worked pretty well.

Victory for the scenario is that there is to be no enemy unit north of the bridge, but for AoF, which uses the conceit of objective markers, I put 4 markers down in the vicinity of "north of the bridge" that would effectively mimic the same thing.

The Chivalrous Kingdoms started the game with a 10-figure unit of foot knights, north of the bridge. 


This resulted in something of a log jam - which is not atypical even when using One Hour Wargames rules. Although the High Champion had "War Duty" which allowed him to command the foot knights to move towards the woods to their left (war duty allows him to command any unit within 12" to move 6" even if they have moved already), he himself was blocking everyone behind him.

The silver archers ended up in a crowd with less-than-ideal lines of sight.

End of Turn 1.
The Dark Elves/Tanitians concentrated their deployment on the flank behind the thick jungle. An unfortunate decision as this greatly hampered the advance of the infantry. The Abyssal Beast (elephant) arrived in a boulder field which hampered its movement as well.


Seeing the advance of the Black Guardians to the north flank of his foot knights, the High Champion charged into the fray. 


Unable to do anything resembling damage, the High Chamption braced for a terrible counterattack. Indeed, it was devastating - the High Champion, struck down. With the Dark Warriors still struggling through the tangled jungle, the foot knights turned to face their flank and crashed into the Black Guardians. Overwhelmed, the Guardians were wiped out to a warrior.

Retribution!
This left the Snake Lady to deal with the foot knights in the absence of "the lost battalion".


Her magic was strong and brought down many, but it was not enough. She too fell.

Meanwhile the mounted Realm Knights crossed the bridge to attempt to intercept the Abyssal Beast. 


This seemed like a good idea. Until it wasn't.

Run away!

Although the Dark Warriors finally clashed with the foot knights, neither was eliminated. Meanwhile the silver archers rained arrows from a nice safe distance, however ineffectively, at the Abyssal Beast, who lumbered about undisturbed. 


Both sides had lost their leaders and both sides were fairly well whittled down. Realizing there was nothing to gain and everything to lose, the sides broke off (end of the 4th turn)

Neither side met the OHW condition for victory. The Dark Elves controlled two objectives, one was contested at game end, and one was completely ignored by both sides because the random arrivals (per the scenario) had led to a lopsided deployment for the Dark Elves. 

So, at least in AoF terms, the Dark Elves/Tanitians won.

I have decided a final battle is needed to determine the overall winner, and so the lizards/Saurians will face the Tanitians/ Dark Elves in the near future.