Tuesday, February 25, 2020

2020 Atlanta Military Figure Society Show Haul

This past weekend was the annual Atlanta Military Figure Society show in Marietta, GA. While there are terrific displays of model building and painting prowess, my interest is almost entirely in the vendor area.

Osprey titles abound at this show and most can be had for a fiver (USD) or less. I try to stick to topics of immediate personal interest lest I blow my entire hobby budget for the year. I suppose if I was smart, I'd have bought quite few to sell as bundles on eBay.

In any case, the most interesting looking of those I picked up is Women at War: 1939-1945 from the Men-at-Arms series. I have not run across it before when rooting around piles of Osprey books. The single picture of  Soviet bomber aircrew ("night witches") would have been enough on its own to get me to purchase it but it's also a topic vastly underrepresented in my small collection of history books.


I blame Rommel for this next purchase. Had I not read Infantry Attacks, I doubt I'd have bought it.  The German Army 1914-18 will come in handy though if I decide to field some Germans in Italy:


This next one requires some explanation.

There I was minding my own business a few weeks ago, when I read a very simple point-to-point campaign for Kursk. One of the campaign tracks involves following Grossdeutschland. A look into some of the map points on Wikipedia led to learning about an encounter involving the recon battalion associated with GD. That lead to finding a Spearhead order of battle for 1943 for the GD recon battalion. And the next thing you know, I'm obsessed with fielding one a 1 stand = 1 company, even on my tiny table where an armored car can race across it in a handful of turns.

Figuring I should learn more about the vehicles, I grabbed this for $2.


Somewhat related, since my Eastern Front tanks are 1/38, I ordered a 1:43 sdk. 222 on eBay. It's cute and little and goes "hee hee hee". But I was OK with that, even if it's dwarfed by my Deetail Kubelwagen.

However, a vendor at th show had the 21st Century 1/32 model of the sdk. 222 for just $18 USD marked down to $15! Even if I didn't want it, I would have bought it! (in retrospect I should have bought the other vehicles and sold them on eBay. smh.)


So now I have two scales of 222. This is no unusual in my collection so I will just roll with it and pretend I'm not kept up nights debating which scale vehicle to settle on.

The last item I picked up at the show was an unpunched copy of Battle for Moscow - a game available freely online and one that has been on my want list for years, even before I ever played a hex-and-counter game.

I don't like printing my own game components - cutting out counters from cardstock is tedious, but the real issue is they aren't thick enough. You have to mount them and that's just too much work, especially now that I have several other professionally produced games.Finding an actual printed copy though meant purchase was a no-brainer:


I'm not convinced I'll go back again next year - mostly because it's a long ride given how little time we spend there. And while there are deals to be had, something about the atmosphere felt off-putting to me. Not really appropriate here but it's just something I noticed. We'll see if I still feel the same next year.

The next big event on my sort of gaming related calendar is the WWII Days in Peachtree City in April.

Wednesday, February 19, 2020

Test Prints

I'm not sure why, but I decided to start of this unit of khaki-clad British soldiers with just three figures.

Honestly, it makes no sense - four would be great for a unit in a grid-based game like The Portable Wargame or six for half-sized units in The Men Who Would Be Kings, but three?


Armies in Plastic colonial British painted in a mix of craft and Vallejo acrylics.
In any case, I'm pleased with the final result and I'm starting in on the remaining seven in this unit in the next day or so.

The tedious bit is obviously the straps and belts and such, but otherwise, now that I've decided on the colors for the puttees and the boots (damned if I can remember - but fortunately I only have a few hundred shades of brown to sort through), the rest should be fairly easy to knock out in assembly line fashion.

Monday, February 17, 2020

Red Army Takes Delivery of New AT Gun!

Photos have surfaced of the new Soviet ZiS 3 anti-tank gun being tested at a secret Siberian firing range.

Italieri 1/32 ZiS 3 and crew. I might paint a 3rd crew member for the base. I might not. Each gun comes with 5 crew.
Red Army officials say the new gun is a "glorious demonstration of Soviet engineering" and the ZiS 3 is being manufactured at a fantastic rate to join the fight against Hitler's Panzer divisions.

Friday, February 14, 2020

200th Post!: My Modifed Morschauser Modern

My first post on this blog was a game using Morschauser's modern rules, so it seems fitting for my 200th post, that I share the modifications I am currently using.

They look rather long, but that is a function of my wordiness in an effort to anticipate questions that might arise when someone who isn't me uses them, more than any indication of their complexity. If you want to skip the remainder of my rambling preamble, scroll down to the section labeled "Morschauser Modified WWII (2020)".

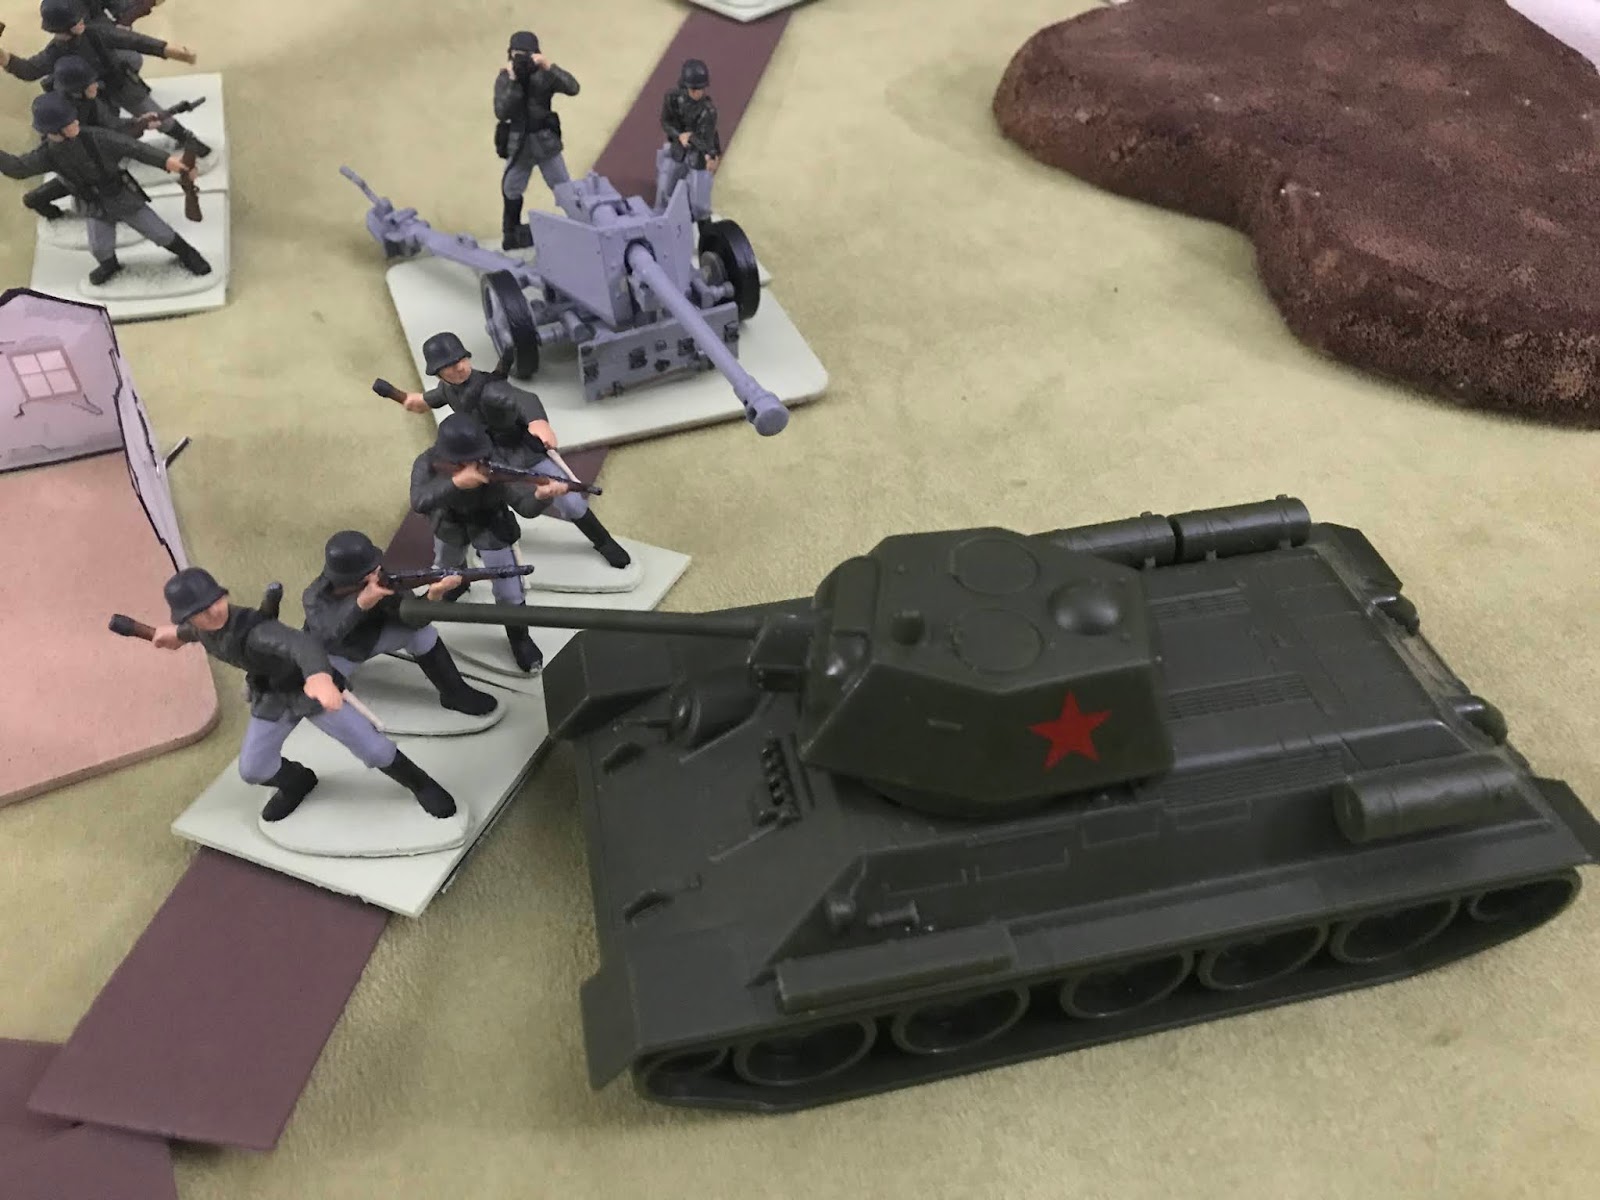
Photo from Jan 31, 2020. Morschauser game using OHW scenario and forces.
Please note, you will need a copy of Morschauser's book - either in the original or John Curry edition  to get the most use from these, as I don't want to infringe on copyright and all that I've left out most everything that you can find there.

These rules make use of the Roster System (Chapter X in the Curry edition).

Morschauser calls the circles on his Roster "sections" and these are based on the "actual fire power of the Unit's weapons" - which isn't terribly convenient, as he doesn't give any way to convert firepower into "sections", never mind that "section" already means something in a WWII setting..

So, taking some liberty, I've generalized these "sections" into Roster Points or RPs. Roster Points encapsulate the number of sub-units, but also their morale, and supply. It is measurement of their ability to continue fighting not unlike Bob Cordery's Strenth Points from The Portable Wargame or Neil Thomas's "hits". You can use Morschauser's "section" values as given, or you can modify the RPs.

Typically my starting point is the number of immediate sub-units - this helpfully allows for variety depending on country, theater, and year of the war. So, a typical rifle unit (read company) would have 4 RPs (3 platoons + 1 support platoon).

That value can be adjusted up or down to denote abundances or deficiencies in any of the areas mentioned. Green or veteran units can have less or more RPs respectively, for example.

Notes:
  • For unit melee power, unless otherwise noted, I use Morschauser's ratings. 
  • The headings below (in all caps) match Morschauser's existing headings, so you can match them up and compare my changes/additions or, in some cases, they are an entirely new heading for something not covered in Morschauser's rules-as-written.
  • I have included two different approaches for firing - OHW style games with 6 units or less per side may benefit from the 1d6 per unit method rather than per RP.
  • The ranges given here are not true to the weapon types but adjusted for the table and the limits imposed by the addition of a spotting distance rule.
  • If using a larger base - say Morschauser's suggested 3" base for 54s - but for a platoon per base, change the scale to 1" = 30ish yards. For firing, you can use his ranges as written or adjust accordingly. For movement, I suggest using his ranges as written with the 3" bases, or borrow Neil Thomas's movement ranges from One Hour Wargames, as either seems to work.


Archival photo from 2016. Morschauser rules used for US infantry assault inspired by Band of Brothers depiction of Carentan.

Morschauser Modified Modern Period Rules

i) SCALE


1" = 100 yards
1 tray = 1 company 
1 turn = 15-30 minutes

ii) INFANTRY UNITS


Mounted motorized and armored infantry move per their transport.

Rifle: Move: 6" / Weapon Range: 6"
SMG: Move: 6"  /Melee Power: 5 / Weapon Range: 1"
Infantry antitank weapons: Move 6" / Weapon Range: 1"
Engineers with Flame: Move 6" / Melee Power: 5 (because flamethrowers) / Weapon Range: 6" (for their rifles)

All infantry units are assumed to have at least AT grenades if not dedicated infantry AT weapons. The only reason a separate AT weapon unit is listed here is to account for the dedicated Soviet ATR companies (since I am using these rules currently with the Eastern Front forces I have) - which should be treated as Morschauser's Antitank rocket unit with respect to melee power and the roster.

ii) HEAVY WEAPONS UNITS

Mounted mortar, MG, or mixed mortar/MG companies move at the speed of their transport when embarked.

The 6" minimum range for the mortars is certainly not accurate but is included to give additional differentiation with the MG units.

Medium Mortar : Move: 6" or per transport  /  Weapon Range: 6" - 36"
Heavy Mortar: Move: 6" or per transport / Weapon Range: 6" - 48"
MG: Move 6"/ Weapon Range: 9"
Mixed(MG+Mortar) : Move 6" / Weapon range: up to max for mortar type

iii) ARTILLERY - In progress


May be on or off table.

[I have yet to write anything for this section, as it hasn't come up yet, but it will likely be similar to the mortars - with field, medium, heavy, mountain, etc. guns and their ranges being quite large or irrelevant, as the whole table would be in range.

I am contemplating attaching Forward Observers to specific units in order to limit the impact, no pun intended, of off-table artillery]

iv) ANTI-TANK GUNS


ATG (not self-propelled): Move: per transport /  Weapon Range: 12"

v) AFVs


Tank (or Self-propelled ATG): Weapon Range: main gun 12" / 9" MG at infantry targets only
Armored/Scout car: Move: 15" road  / 6" off road / Weapon Range: based on armament (MG: 9", ATG: 12")

vi) OTHER VEHICLES

Half-track: Move: 12" road /  9" off-raod / Weapon Range: if has MG, range: 9"
Wheeled  vehicles: 15"  road / 6" off road.  Weapon Range: if has MGs, range: 9"
 
vii) SEQUENCE OF TURNS
  1. Initiative - winner is Side A and goes first
  2. Side A Recover / Resupply Check
  3. Side A Move/Shoot 
  4. Close Combats
  5. Repeat steps 2-4 for Side B
  6. End of Turn
viii) INITIATIVE

Each side rolls a six-sided die. High score has the initiative and is Side A for the turn. The other side is Side B for the turn.

ix) RECOVER/RESUPPLY

Each unit that has suffered a loss of  Roster Points during a previous turn, may attempt to regain one RP at the start of their current turn by rolling 1d6.

If the unit is in the open, on a 4 or 6, they regain 1 RP.
If the unit is in cover, on a 2, 4, or ,6, they regain 1 RP.

A unit may not recover/resupply beyond the RP value it started the game with unless otherwise dictated by the scenario.

x) MOVEMENT

Morschauser's movement rules apply with the following additions:
  • If movement involves leaving one terrain type for another, movement stops upon entering the new terrain type unless the new type is open terrain, or the unit is traveling by road.
  • Guns may not limber, move, and unlimber in the same turn. 
    • Gun transport may only move at 1/2 rate when limbering or unlimbering in the same turn.
  • Motorized / Mechanized infantry / heavy weapons units may not embark and disembark in the same turn
xi) FIRE RULES

Morschauser's firing rules apply with the following additions/clarifications:
  • If  a unit is going to fire, it must be done before or after a unit completes its movement.
  • Spotting :For direct fire, enemy units can only be seen for targeting up to12" away 
    • This is from Neil Thomas as well as some other rules I have.
  • All units have 360 degrees of line of sight (LOS)
    • Terrain may block line of sight - and therefore targeting a unit on the other side - use logic and your own determination, and let the dice decide if you're not sure.
  • [edited 2020-02-15] Spotting and range for shooting  is measured from the center of the  base edge of the firing unit to the center of the base edge of the target unit. If a unit is not based, measure to the nearest significant part of the model - for example, a tank's hull rather than the barrel of the gun.
  • Mortars, howitzers, and other artillery may fire at enemy units within LOS and spotting distance of any friendly unit or they may direct fire on units they have LOS to within spotting distance.
  • Mortars, howitzers, and other artillery may fire over intervening units and terrain, unless a scenario specifies otherwise. 
  • Guns may not fire and limbers/unlimber in the same turn.
  • Units in cover providing terrain can only be seen by units outside that terrain if they are in base contact with the edge of the terrain.
    • What terrain provides cover is, again, up to you.
  • Spotting distance between units in the same terrain may be reduced.
    • It can range from base contact to 12" depending on the type of terrain.
  • Tanks on a hill, being fired on from down hill, count as in cover (hull down) 
To fire, use one of the following methods:
  • As written, and what I currently use: all units roll 1d6 for each of their current Roster Points to hit.
  • For a longer game with gradual losses and without the risk of sudden elimination, use the following instead: All units roll 1d6 to hit when attacking.
Hitting targets in the open is as per Morschauser.

All units, except MGs, hit targets in cover on a 6. MGs hit targets in cover on a 4 or 6.

<OPTIONAL SAVING ROLL>
Units make a saving roll for each hit they take from direct and indirect firing.

For each hit taken as the result of an enemy fire action, a unit rolls1d6:
  • Units in the open may ignore a hit for each 4 or 6 scored.
  • Units in cover may ignore a hit for each 2, 4, or 6 scored.
<END OPTIONAL SAVING ROLL>

Mixed weapons support companies: 
If a support company mixes mortar and MGs together, for ranges greater than 9", read the dice as if they are a mortar unit (i.e. 4 or 6 hit). For ranges of 9" or under, treat as MG (i.e. 2, 4, or 6 to hit).

Infantry vs Tanks: Infantry (rifle or SMG) may attack tanks by moving into close range (1") of the tank. This assumes they are bringing AT weapons into the fight.


xii) CLOSE COMBAT
 
This is essentially Morschauser's melee method, with a reduction in melee range and some clarifications.

Melee occurs when units eligible for close combat are within 1" of each other, base-edge to base-edge.

Melee is between two units only. If a melee involves more than one unit on either or both sides, resolve one melee at a time, at the moving player's discretion, until one or both sides are eliminated or no more units remain in melee range (1"):

Tanks vs Infantry:
No vehicle other than tanks may overrun infantry. Instead, follow the rule for scout cars Morschauser describes under the Melee section.

A tank need not physically be able to occupy the space beyond the targeted infantry unit - it is sufficient that its move would carry it completely past the target, it it were to move unobstructed.

That is, if a second infantry unit close behind the first, the tank can still overrun the first unit.


Archival photo. Morschauser + Hook's Farm 2017.

Tuesday, February 11, 2020

The Not-Imperial-Russians Get a Leader

Urging his men to action the leader of the Vodkia force cuts a dashing figure in his blue Don Cossack uniform with red shoulder boards (color scheme from an illustration found on the interwebz)

Maybe it's me,but does the horse look angry?

Notice he rides a horse into battle - you would never see him sitting on a camel.


His men look upon him with equal parts respect and fear - having seen their leader charge into the enemy, sword slashing wildly, cutting down man after man, all the while laughing heartily.

Only a fool would risk even the faintest whiff of insubordination.

.***
This horse and rider complete my original plan for this project, which was a 10 figure infantry unit, a gun + crew, a 4 figure unit of cavalry, and a leader figure.

Stage 2, however, is already underway to add a unit of infantry to each side. I hope to have the Brits in their khakis done quickly. The first test figures are nearly done. A second unit of Russian rifles will complete the 2nd stage.

If there's a stage 3, it will be because I decided to paint up the remaining Cossack and British camel corps. figures. It does seem a shame to not use them.

Sunday, February 9, 2020

Like a Bridge Over Troubled Waters

Friday night, for the third time in a week, I returned to Tabletop Teaser #1: The Bridge Demolition, with my modified Morschauser rules. Due to the randomized arrival of Blue's forces, variety is insured, and the limited objective (hold for x turns, then blow the bridge) of Red, means the scenario is well-suited for solo play.

That said, Red can, of course, be more or less cautious and therefore they are not without options, but by and large they don't require as many decisions as the Blue force. I chose to play Red cautiously again this time but gave myself just 10 turns to achieve the capture of the bridge/stopping of the demolition. The reduced time frame and a rules tweak (I got rid of the saving throw , and went with a simple treat-all-cover the same, 6 to hit for all but MGs, MGs hit on 4 or 6 when target in cover -this decreases the life of units somewhat - but not as much as no cover adjustment - while speeding up combat) increased the sense of urgency I felt

The by now familiar setup.
Lead Soviet rifle unit in the woods with a tank unit in support.
The 1st German tank unit arrives on turn 2 and finds itself threatened by a Soviet tank unit hull-down on the hill.
Trying something different this time,  I decided to advance while firing, rather than stopping to engage in a back-and-forth.
A few turns later, and the German right flank has an embarrassment of riches. Again, they sought to bypass rather than engage the enemy unnecessarily.
The first Panzers reach the bridge and come under AT fire from the Soviet ATG.
And they are mopped up by Red Army infantry closing in and using their AT weapons at close range.
On the German right, Panzers drove back the Soviet tanks. So unexpected was it, the German PAK-40 never had a chance to fire after deploying.
On the German left/Soviet right, the unit of T-34s came under fire from the second PAK-40 and infantry armed with AT weapons. They were less successful than their Red Army counter-parts.
The Germans having lost their 2nd Panzer unit earlier, along with their recon unit, was primarily left with infantry, who faced a tough road. Literally - the bridge is blocked by a weakened but still dangerous company of T-34s.
Hand-to-hand fighting breaks out in the streets and buildings north of the river and German infantry close assault the Soviet tanks blocking the bridge.
The brutal melee north of the river left neither side in control of that portion of the village. The Soviet armor on the bridge overran the German infantry, buying enough time for the Soviet engineers to finish wiring the bridge. A massive explosion signaled the failing of  the German attack.
****
An exciting and fun game with an outcome that was up in the air until the end.

Despite being my third time playing it, I'm not done with this scenario (recently - I have played it in the past a few times). I would like to try some different approaches to the Soviet defense (perhaps something more aggressive). It would also be interesting to try to consolidate the German force before advancing (something far more cautious than this most recent game) - they'd lose turns that way, up to 6 depending on how the arrivals roll up, but perhaps could make up for it by advancing en masse.

I also have an itch to move this to a grid for giggles.

Friday, February 7, 2020

Book Review: Infantry Attacks by Erwin Rommel

This is the edition I have. I could do without the bad metal band logo title font.
In Infantry Attacks, Erwin Rommel presents his recollections of his service in WWI, from Belgium and France to Romania and Italy, with analysis and lessons to be taken from the encounters. Reminiscent at times of a "war story" being told over a glass of brandy, the actions described are often exciting, if obviously biased towards his beloved Wurtembergers. Importantly, Rommel paints a picture of movement  - even when describing trench warfare - for a war regarded popularly as a static affair and he supports his narrative with simple, but useful and ample, maps. With few exceptions, the chapters are stand-alone vignettes and it is possible to skip around to one's geographical area of interest, if so desired.

It is not necessary to be familiar with WWI in any great detail to appreciate this book, but it is not a survey of the conflict; it will most certainly spark interest in further research if this is your starting point. If WWI is a gaming interest, there are plenty of suitable scenarios for the table described, regardless of your chosen level of representation - he covers encounters ranging from a handful of men to an entire regiment in size. If The Great War is not a gaming interest, Infantry Attacks could well change your mind.

Monday, February 3, 2020

Morschauser Bridge Demolition

Two battalions of Panzer-Grenadiers (insert your favorite regiment number) with two panzer companies, raced to the village of Krasnya to prevent the Soviets from blowing the bridge there.

So goes the flimsiest setup for not one but two plays of Tabeltop Teaser #1 : The Bridge Demolition (courtesy of Steve the Wargamer's wonderful resource). These pictures are from the second play, which occurred Sunday afternoon. The Soviets can blow the bridge on turn 12 based - based on doubling the turns it takes for infantry to reach the village.

I accidentally left some rubble on the table while setting up and didn't realize it until turn 3 or 4.

View from the German recon unit.
The random arrival of Blue force was particularly unfortunate for the Germans: on turn 1 the only unit to arrive was an ATG (represented here with the Sd.K. which is "towing" the gun). They got no further. The Soviet tanks caught and destroyed them . Turn 1 and one unit down.

The recon unit raced for the road but came under fire from the other Soviet tank company. Turn 1 and two units down.

With no arrivals on turn 2, the Soviets held their position. By turn six the entire German force was finally present for the festivities.
The half-track is another ATG tow. I modified the infantry vs tank rules due to the 1" = 100 yard scale I was using. The Soviet tanks were forced to fall back.

On the Soviet left tanks clashed north of the woods.

An overview of the situation around turn 7 or  8?
Gratuitous close-up.

The Soviet tanks on the right fell back to the river to buy some time to reorganize.

On the German right/Soviet left, the 2nd battalion / ATG arrived and deployed.
A view from the German left.
And the German right.

The German ATGs setup within rifle range of the Soviet infantry in the hamlet, so that ended the way you would expect it to. Before the ATGs even fired once. On the bright side, the German infantry eliminated the Soviet rifles from the woods.
Things started to take a turn for the worse for the Soviets in the hamlet. Their commander kept them beyond the bridge too long.
And the Huns overran their position. 1st and 2nd battalions link up at the hamlet before heading south to the bridge.

On the Soviet right, tanks shoot out at 500 yards.The Soviets tanks are pushed up to the river - is this a last stand? [that 1 sure makes it seem like it]
Panzers win the tank battle on German right / Soviet left and the P/G companies surge forward.

Turn 11. The Germans clear out the buildings north of the river. Panzers return fire on the Soviet ATGs. But lo and behold the Soviet tanks (upper right in the picture) still hold on!

 Panzers reach the bridge, and the Soviet engineers suffer devastating fire on Turn 12!  There's no chance the bridge will be blown. A last minute German victory! Given their start, I was pretty surprised.

*****

Rules for both attempts at this scenario were variants on Morschauser, but today's game was pretty much just the version I played at Thanksgiving SoloCon, with modifications for range and movement where 1" = 100 yards, and a tweak for mixed heavy weapons companies.

Friday's game was more of a mashup and did feature a strength point recovery/resupply method that I prefer stylistically, but that doesn't really work with Morschauser's recommended strength points. I may write it up eventually because I think it works well